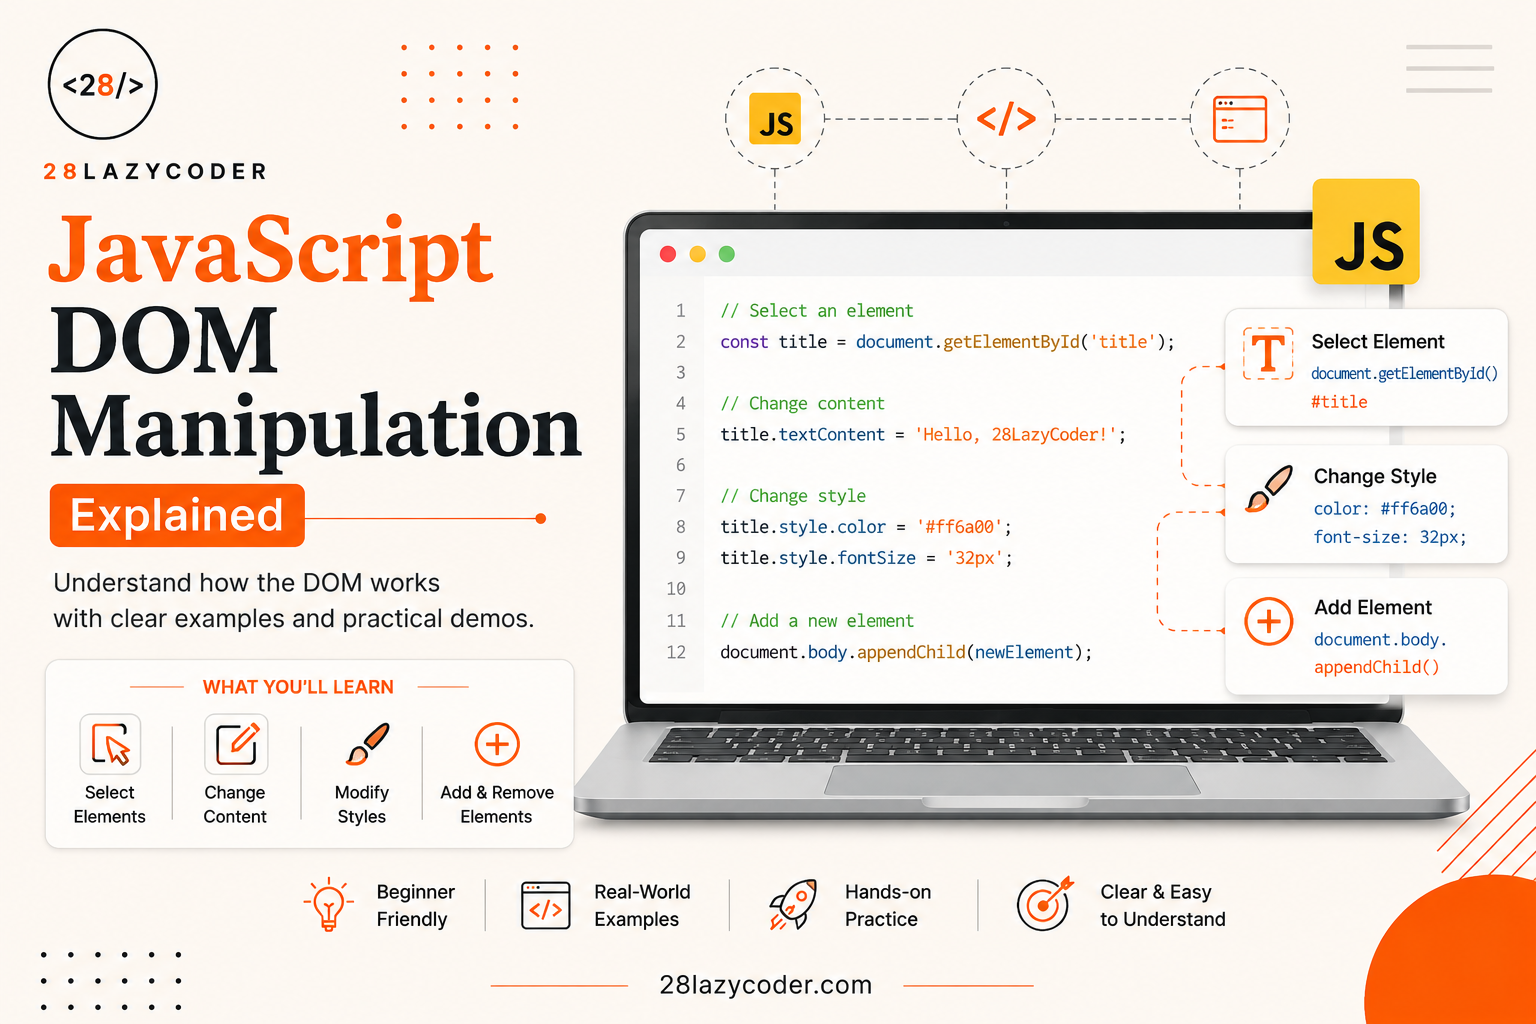
When you visit a website and click a button, open a menu, submit a form, or see content update without reloading the page, JavaScript DOM Manipulation is usually working behind the scenes.
DOM manipulation is one of the most important skills every JavaScript developer should master. Whether you’re building a simple portfolio website or a complex web application, understanding the DOM allows you to create interactive and dynamic user experiences.
In this guide, you’ll learn:
- What the DOM is
- How JavaScript interacts with HTML
- Selecting elements
- Changing content and styles
- Handling user events
- Creating and removing elements
- Best practices
- Common mistakes beginners make
Let’s begin.
What is the DOM?
DOM stands for Document Object Model.
It is a programming interface created by the browser that represents your HTML document as a tree of objects.
Instead of treating HTML as plain text, the browser converts every element into an object that JavaScript can access and modify.
For example, consider this HTML:
<body>
    <h1>Hello World</h1>
    <p>Welcome to my website.</p>
</body>
The browser sees something similar to this:
Document
│
└── html
    │
    ├── head
    │
    └── body
         │
         ├── h1
         └── p
Every element becomes a node.
JavaScript can:
- Read these nodes
- Change them
- Remove them
- Create new ones
This is called DOM Manipulation.
Why DOM Manipulation Matters
Without DOM manipulation, websites would be static.
Imagine websites without:
- Dark mode
- Navigation menus
- Form validation
- Image sliders
- Search suggestions
- Shopping carts
- Like buttons
- Live notifications
These features are possible because JavaScript updates the DOM dynamically.
How JavaScript Accesses the DOM
JavaScript provides the global object:
documentEverything starts from it.
Example:
console.log(document);Open your browser console and you’ll see the entire webpage represented as objects.
Selecting Elements
Before modifying anything, JavaScript needs to locate an element.
There are several ways.
1. getElementById()
HTML
<h1 id="title">Welcome</h1>JavaScript
const heading = document.getElementById("title");

console.log(heading);
2. getElementsByClassName()
HTML
<p class="text">First</p>
<p class="text">Second</p>
JavaScript
const paragraphs = document.getElementsByClassName("text");

console.log(paragraphs);
Returns multiple elements.
3. getElementsByTagName()
const divs = document.getElementsByTagName("div");Returns every <div>.
4. querySelector()
The most commonly used method.
const button = document.querySelector(".btn");Examples:
document.querySelector("#title");

document.querySelector(".card");

document.querySelector("h2");
Returns only the first matching element.
5. querySelectorAll()
Returns all matching elements.
const items = document.querySelectorAll(".item");You can loop through them.
items.forEach(item => {
    console.log(item);
});
Changing Text
Suppose you have:
<h1 id="title">
    Hello
</h1>
Change it:
const heading = document.getElementById("title");

heading.textContent = "Welcome to My Website";
Output:
Welcome to My WebsiteChanging HTML
Suppose:
<div id="content"></div>JavaScript:
document.getElementById("content").innerHTML =
"<h2>JavaScript Rocks!</h2>";
Output:
<h2>JavaScript Rocks!</h2>Use innerHTML carefully because inserting untrusted content can create security vulnerabilities such as Cross-Site Scripting (XSS).
Changing CSS Styles
HTML
<p id="text">Learning JavaScript</p>JavaScript
const text = document.getElementById("text");

text.style.color = "blue";

text.style.fontSize = "24px";

text.style.fontWeight = "bold";
Result:
- Blue text
- Larger font
- Bold text
Working with CSS Classes
Instead of changing styles directly, adding or removing CSS classes is usually a cleaner approach.
HTML
<button id="btn">
Click Me
</button>
CSS
.active{
    background:red;
    color:white;
}
JavaScript
const btn = document.getElementById("btn");

btn.classList.add("active");
Remove:
btn.classList.remove("active");Toggle:
btn.classList.toggle("active");Check:
btn.classList.contains("active");Changing Attributes
Suppose:
<img id="photo">JavaScript
const image = document.getElementById("photo");

image.src = "cat.jpg";

image.alt = "Cute Cat";
Or:
image.setAttribute("src", "cat.jpg");Read:
image.getAttribute("src");Creating New Elements
One of the most powerful features.
const paragraph = document.createElement("p");Add text:
paragraph.textContent = "This is a new paragraph.";Append to body:
document.body.appendChild(paragraph);The paragraph appears instantly.
Removing Elements
const box = document.getElementById("box");

box.remove();
Or
parent.removeChild(child);Replacing Elements
const newHeading = document.createElement("h2");

newHeading.textContent = "New Heading";

oldHeading.replaceWith(newHeading);
Event Handling
DOM manipulation becomes interactive through events.
Example:
<button id="btn">
Click
</button>
JavaScript
const button = document.getElementById("btn");

button.addEventListener("click", function(){

    alert("Button clicked!");

});
Now clicking the button triggers the alert.
Common Events
| Event | Description |
|---|---|
| click | Mouse click |
| submit | Form submitted |
| input | User types |
| change | Value changes |
| keydown | Keyboard key pressed |
| mouseover | Mouse enters element |
| mouseout | Mouse leaves |
| scroll | User scrolls |
| load | Page loaded |
Example: Light/Dark Mode
HTML
<button id="mode">
Toggle Theme
</button>
CSS
.dark{
    background:#222;
    color:white;
}
JavaScript
const button = document.getElementById("mode");

button.addEventListener("click", ()=>{

    document.body.classList.toggle("dark");

});
This creates a basic dark mode.
Example: Updating Text Dynamically
HTML
<p id="message">
Welcome
</p>

<button id="change">
Change
</button>
JavaScript
document
.getElementById("change")
.addEventListener("click", ()=>{

document.getElementById("message").textContent =
"Thanks for Clicking!";

});
Example: Building a List
const ul = document.createElement("ul");

for(let i=1;i<=5;i++){

const li = document.createElement("li");

li.textContent = "Item " + i;

ul.appendChild(li);

}

document.body.appendChild(ul);
Output:
- Item 1
- Item 2
- Item 3
- Item 4
- Item 5
Traversing the DOM
Move between elements.
Parent
element.parentElementChildren
element.childrenFirst Child
element.firstElementChildLast Child
element.lastElementChildNext Sibling
element.nextElementSiblingPrevious Sibling
element.previousElementSiblingForms and DOM
Example:
<input id="name">Read value:
const input = document.getElementById("name");

console.log(input.value);
Update:
input.value = "John";Best Practices for DOM Manipulation
1. Prefer querySelector and querySelectorAll
They are flexible and work with CSS selectors.
2. Minimize DOM Updates
Frequent DOM updates can slow down your application. When possible, group changes together instead of updating elements one by one.
3. Use CSS Classes
Instead of repeatedly changing inline styles.
Good:
element.classList.add("active");Instead of:
element.style.color="red";
element.style.background="black";
element.style.padding="20px";
4. Cache Selected Elements
Instead of:
document.getElementById("title").textContent="Hello";

document.getElementById("title").style.color="red";
Use:
const title = document.getElementById("title");

title.textContent="Hello";

title.style.color="red";
5. Use addEventListener()
Avoid inline HTML:
<button onclick="hello()">Instead:
button.addEventListener("click", hello);Common Beginner Mistakes
Forgetting to Wait for the DOM
If JavaScript runs before HTML loads, elements won’t exist.
Solutions:
- Place the
<script>tag before</body> - Or use the
DOMContentLoadedevent.
document.addEventListener("DOMContentLoaded", () => {
    // Your DOM manipulation code here
});
Using innerHTML Everywhere
While convenient, excessive use of innerHTML can:
- Reduce performance
- Remove existing event listeners
- Introduce security risks if used with untrusted content
Prefer creating elements with createElement() and updating text with textContent when possible.
Selecting the Wrong Element
Always verify your selectors.
console.log(document.querySelector(".box"));Debugging with the browser’s Developer Tools can save a lot of time.
Real-World Applications of DOM Manipulation
DOM manipulation powers countless interactive features, including:
- Responsive navigation menus
- Modal dialogs and popups
- Tabs and accordions
- Image galleries and sliders
- Form validation
- Live search and autocomplete
- Shopping carts
- To-do list applications
- Real-time dashboards
- Theme switchers (Light/Dark Mode)
Mastering the DOM is the foundation for modern JavaScript frameworks like React, Vue, and Angular. These libraries abstract DOM updates, but understanding how the DOM works underneath makes you a stronger developer.
Conclusion
JavaScript DOM manipulation is the bridge between your code and the webpage users see. It enables you to read, modify, create, and remove HTML elements, respond to user interactions, and build rich, dynamic web experiences.
As a beginner, focus on mastering these core concepts:
- Selecting elements with
querySelector()andgetElementById() - Updating text, HTML, and attributes
- Working with CSS classes using
classList - Creating and removing elements
- Handling events with
addEventListener() - Traversing the DOM efficiently
- Following best practices for performance and security
The best way to learn DOM manipulation is through practice. Build small projects like a to-do list, calculator, image gallery, or weather app, and you’ll quickly gain confidence in creating interactive web applications.
Frequently Asked Questions (FAQ)
Is the DOM part of JavaScript?
No. The DOM is a browser-provided API that JavaScript uses to interact with HTML documents.
What is the difference between HTML and the DOM?
HTML is the markup that defines the structure of a webpage. The DOM is the browser’s object representation of that HTML, allowing scripts to read and modify it.
Which is better: getElementById() or querySelector()?
- Use
getElementById()when selecting by a unique ID. - Use
querySelector()for flexibility with any CSS selector.
Is DOM manipulation still important if I use React or Vue?
Absolutely. Frameworks simplify DOM updates through virtual DOMs or reactive systems, but understanding native DOM manipulation helps you debug issues, optimize performance, and write better code.