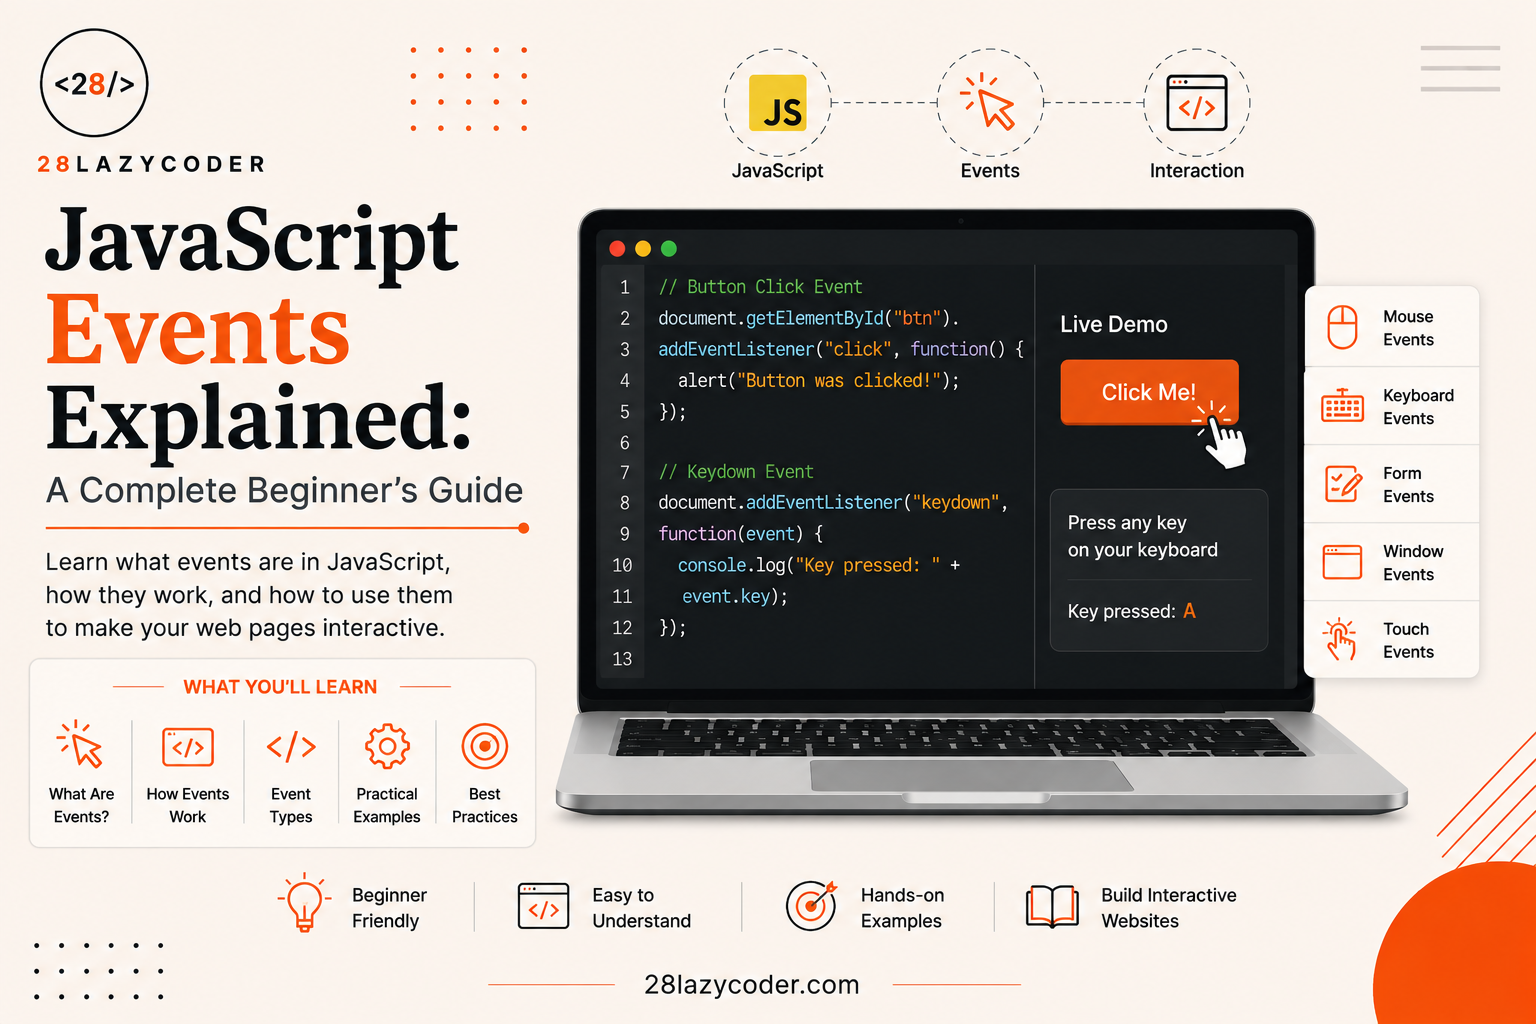
Think about the last time you used a website. You clicked a button. You typed your name into a box. Maybe you scrolled down the page, or hovered your mouse over a menu and it popped open.
Every single one of those little actions is called an event. And behind the scenes, JavaScript is sitting there, watching, waiting to react the moment something happens.
In this guide, we’re going to slow down and understand JavaScript events from scratch no confusing terms, no rushing. By the end, you’ll know exactly how websites “listen” for your actions and respond to them, and you’ll be able to write that code yourself.
If you’re new to changing web pages with code, it also helps to know our guide on JavaScript DOM Manipulation first, since events and the DOM (the structure of your webpage) work hand in hand. But don’t worry we’ll explain everything you need as we go.
What Is an Event in JavaScript?
An event is simply something that happens in the browser. According to the MDN Web Docs on the Event interface, an event represents something that has taken place either caused by the user or generated by the browser itself. It could be:
- A user action clicking, typing, scrolling, hovering, submitting a form
- The browser itself a page finishing loading, an image failing to load, a window being resized
In plain words: an event is a “moment” the browser notices and can tell your code about.
Imagine a doorbell. When someone presses it, a sound goes off. You didn’t have to keep checking the door every second the doorbell system tells you the moment someone presses it.
JavaScript events work the same way. You don’t have to keep checking “did the user click yet? did they click yet?” over and over. Instead, you tell the browser: “Hey, if this button gets clicked, run this piece of code for me.” Then you can relax JavaScript will call your code automatically when it happens.
Why Events Matter
Without events, web pages would be lifeless. You could look at them, but nothing would respond to you. Events are what make a page interactive meaning the page reacts to what you do, instead of just sitting there like a printed page. The team at web.dev’s JavaScript events lesson (a learning resource built by Google) describes this same idea events are the foundation of how JavaScript makes pages respond to people.
How JavaScript “Listens” for Events
To react to an event, you need three things:
- A target the element you want to watch (like a button)
- An event type what kind of action you’re watching for (like a “click”)
- A function the code that should run when that event happens
This function is often called an event handler or a callback function. Don’t let the fancy name confuse you — it’s just a normal function that JavaScript “calls back” to when the event fires.
The addEventListener() Method
The most common and recommended way to handle events is the addEventListener() method. Here’s the basic shape:
javascript
element.addEventListener("eventType", function () {
  // code to run when the event happens
});
Let’s see it in action:
html
<button id="myButton">Click Me</button>

<script>
  const button = document.getElementById("myButton");

  button.addEventListener("click", function () {
    alert("You clicked the button!");
  });
</script>
Let’s break this down like a teacher would, line by line:
document.getElementById("myButton")this finds the button on the page and stores it in a variable calledbutton. (If you’re unfamiliar with finding elements like this, our DOM Manipulation guide covers it well.).addEventListener("click", ...)this tells the browser: “Watch this button. The moment someone clicks it, run the function I’m giving you.”- The function inside this is the actual reaction. Here, it shows a pop-up alert.
That’s it. You just built your first interactive piece of a webpage. This exact method and its behavior are documented in full detail on the MDN Web Docs page for addEventListener(), which is the official reference maintained by browser vendors and web standards contributors.
Why Not Just Use onclick="..." in HTML?
You may have seen old-style code like this:
html
<button onclick="alert('Hi!')">Click Me</button>This technically works, and it’s even documented on W3Schools’ JavaScript Events page as a valid (older) way to attach events using HTML attributes. But it mixes your HTML (structure) with your JavaScript (behavior), which gets messy fast — especially in bigger projects. It also only allows one handler per event on an element.
addEventListener() is better because:
- It keeps HTML and JavaScript separate and organized
- You can attach multiple functions to the same event
- You get more control (like removing the listener later)
Common Types of Events
There isn’t just one type of event there are many, for many different situations. Here are the ones you’ll use most as a beginner. You can always check the full, official list in the MDN Events reference.
Mouse Events
| Event | Fires When |
|---|---|
click | An element is clicked |
dblclick | An element is double-clicked |
mouseover | The mouse enters an element |
mouseout | The mouse leaves an element |
javascript
const box = document.getElementById("box");

box.addEventListener("mouseover", function () {
  box.style.backgroundColor = "yellow";
});
This changes the box’s color the moment your mouse touches it no click needed.
Keyboard Events
| Event | Fires When |
|---|---|
keydown | A key is pressed down |
keyup | A key is released |
javascript
document.addEventListener("keydown", function (event) {
  console.log("You pressed:", event.key);
});
Notice something new here event. We’ll explain that properly in the next section.
Form Events
| Event | Fires When |
|---|---|
submit | A form is submitted |
change | An input’s value changes and loses focus |
input | An input’s value changes, instantly, as you type |
javascript
const form = document.getElementById("myForm");

form.addEventListener("submit", function (event) {
  event.preventDefault();
  console.log("Form submitted!");
});
We used event.preventDefault() here this stops the form from doing its default behavior, which is reloading the page. We’ll explain this fully in a moment too.
H3: Window Events
| Event | Fires When |
|---|---|
load | The whole page has finished loading |
resize | The browser window is resized |
scroll | The page is scrolled |
javascript
window.addEventListener("resize", function () {
  console.log("Window size changed!");
});
Understanding the Event Object
Every time an event happens, JavaScript quietly creates a small package of information about it, called the event object. The MDN Event interface documentation explains that this object carries useful details about what happened and where. You can access it by adding a parameter to your function usually named event or just e.
javascript
button.addEventListener("click", function (event) {
  console.log(event);
});
This object tells you useful things, like:
event.targetthe exact element that triggered the eventevent.typethe type of event (like"click")event.keyfor keyboard events, which key was pressedevent.preventDefault()— a method to stop the default browser action
What Is preventDefault()?
Some HTML elements have a “default behavior” built in. For example:
- Clicking a link (
<a>) normally navigates to a new page - Submitting a form normally reloads the page
Sometimes you don’t want that. event.preventDefault() tells the browser: “Don’t do your usual thing I’ll handle it myself with JavaScript.” This method is officially documented on MDN’s preventDefault() page.
javascript
const link = document.getElementById("myLink");

link.addEventListener("click", function (event) {
  event.preventDefault();
  console.log("Link click stopped. Doing something custom instead.");
});
This is extremely common in real websites especially for form validation, single-page apps, and custom navigation menus.
Event Bubbling: When Events Travel Upward
Here’s something that confuses a lot of beginners, so let’s go slow.
Imagine you have a button inside a <div>, and that <div> is inside your <body>:
html
<div id="outer">
  <button id="inner">Click Me</button>
</div>
When you click the button, JavaScript doesn’t just tell the button “you were clicked.” The event actually travels upward through its parent elements too the <div>, then the <body>, and so on. This is called event bubbling, and it’s part of a bigger idea called “event flow,” explained in detail in the MDN documentation on event bubbling and also covered by GeeksforGeeks’ article on event bubbling.
Think of dropping a pebble in water. The splash happens at one point, but the ripples spread outward to everything around it.
javascript
document.getElementById("outer").addEventListener("click", function () {
  console.log("Outer div clicked!");
});

document.getElementById("inner").addEventListener("click", function () {
  console.log("Button clicked!");
});
If you click the button, you’ll see both messages in the console first “Button clicked!”, then “Outer div clicked!” because the click event bubbles up from the button to the div.
Why Bubbling Is Actually Useful
Bubbling isn’t a bug it’s a feature. It lets you use a trick called event delegation: instead of adding a listener to 100 individual buttons, you add just one listener to their parent, and use event.target to figure out which one was clicked.
javascript
document.getElementById("list").addEventListener("click", function (event) {
  if (event.target.tagName === "LI") {
    console.log("You clicked:", event.target.textContent);
  }
});
This is much more efficient, especially for lists that change dynamically.
Removing an Event Listener
Sometimes you want to stop listening for an event. You can do this with removeEventListener(), documented on MDN’s removeEventListener() page but there’s one catch: you must use a named function, not an anonymous one, so JavaScript knows exactly which function to remove.
javascript
function sayHello() {
  console.log("Hello!");
}

button.addEventListener("click", sayHello);

// later...
button.removeEventListener("click", sayHello);
If you’d used an anonymous function (like function () {...} written directly inside addEventListener), there’d be no way to reference it later to remove it.
A Small, Complete Example
Let’s put everything together in one simple, real example a button that counts how many times it’s clicked:
html
<button id="counterBtn">Clicked 0 times</button>

<script>
  const counterBtn = document.getElementById("counterBtn");
  let count = 0;

  counterBtn.addEventListener("click", function () {
    count++;
    counterBtn.textContent = `Clicked ${count} times`;
  });
</script>
Every click:
- Triggers the event listener
- Increases the
countvariable by 1 - Updates the button’s text using the DOM
This one small snippet uses almost everything we covered today an event, a listener, a handler function, and a bit of DOM updating.
Conclusion
JavaScript events are what turn a plain, static webpage into something that feels alive and responsive. Once you understand the core idea — something happens, and your function reacts to it everything else, like bubbling, the event object, and delegation, becomes much easier to follow.
Start small. Add a click listener to a button. Then try a keyboard event. Then try changing something on the page when it happens. The more you experiment, the more natural it will feel.
FAQs
Q1. What is the difference between an event and an event listener?
An event is the action itself (like a click). An event listener is the code you write that “listens” for that action and runs a function when it happens.
Q2. Can one element have multiple event listeners for the same event?
Yes. Unlike the old onclick="..." approach, addEventListener() allows you to attach multiple functions to the same event on the same element, and all of them will run.
Q3. What does event.preventDefault() do?
It stops the browser’s default behavior for that event like stopping a form from reloading the page, or a link from navigating away so you can control what happens instead.
Q4. What is event bubbling in simple words?
It means an event doesn’t stay only on the element it happened on it also travels upward through its parent elements, one by one, unless you stop it.
Q5. Do I need to learn the DOM before learning events?
It helps a lot, since events are usually used to change elements on the page. A quick look at our DOM Manipulation guide before or after this one will make things click faster.
Trusted Sources & References
This guide was written using official and widely trusted web development references, including:
- MDN Web Docs — EventTarget.addEventListener()
- MDN Web Docs — Event interface
- MDN Web Docs — Event reference
- MDN Web Docs — Event.preventDefault()
- MDN Web Docs — Event bubbling
- MDN Web Docs — EventTarget.removeEventListener()
- web.dev — Learn JavaScript: Events
- W3Schools — JavaScript Events
- GeeksforGeeks — Event Bubbling in JavaScript
Continue Learning
Want to keep building your JavaScript foundation? Check out these related guides on 28LazyCoder:
- JavaScript DOM Manipulation Explained
- JavaScript Functions: A Complete Guide with Examples
- JavaScript Conditional Statements: A Complete Beginner’s Guide
- JavaScript Objects: A Complete Beginner’s Guide
- var, let, and const: The Difference That Actually Matters
Explore more tutorials on the 28LazyCoder Blog.