Think about the last time you signed up for something online. Maybe you typed your name into a box, picked your country from a dropdown, and clicked a “Submit” button. That whole experience the boxes, the dropdown, the button is built using something called an HTML form.
Forms are everywhere. Login pages, search bars, contact pages, payment pages, even the little box where you leave a comment on a blog they all use forms. If you know HTML basics but have never really understood forms, don’t worry. By the end of this guide, you’ll know exactly how forms work, and you’ll be able to build one yourself.
Let’s slow down and go step by step, the same way you’d learn it if a friend was explaining it over coffee.
What Is an HTML Form?
An HTML form is a section of a webpage that collects information from a user and sends it somewhere usually to a server, where it can be saved, processed, or used to log you in.
Think of a form like a paper application you fill out at a bank. You write your name, your phone number, sign at the bottom, and hand it over to the bank clerk. An HTML form does the same job, just on a screen instead of paper.
Here’s the basic shape of a form in HTML:
html
<form>
  <!-- input fields go here -->
</form>
Everything you want the user to fill out — text boxes, checkboxes, dropdowns, buttons — goes inside this <form> tag.
Why Forms Matter So Much
Without forms, websites would be read-only, like a newspaper. You could look, but you couldn’t interact. Forms are what let websites become two-way — you send information, and the website responds. Signing up, logging in, searching, posting a comment, buying something online — none of that is possible without forms.
The <form> Tag and Its Important Attributes
The <form> tag itself doesn’t display anything on the page by default. It’s more like a container or a folder that groups all your input fields together. But it has a few attributes (extra settings you add inside the opening tag) that control how the form behaves.
action Where the Data Goes
The action attribute tells the browser which page or server address should receive the form’s data once it’s submitted.
html
<form action="/submit-form.php">
  ...
</form>
If you leave action empty, the form sends the data to the same page it’s on.
method How the Data Is Sent
The method attribute decides how the data travels. There are two common values:
- GET Adds the form data to the URL (visible in the address bar). Good for search forms.
- POST Sends the data separately, hidden from the URL. Good for sensitive information like passwords.
html
<form action="/login" method="POST">
  ...
</form>
A simple way to remember it: use GET when you’re just fetching or searching for something, and use POST when you’re submitting private or important data, like a login form.
Common Form Elements (With Examples)
Now let’s look at the actual pieces you put inside a form the boxes, buttons, and dropdowns your users will interact with.
The <input> Tag
The <input> tag is the most-used element in any form. It’s a self-closing tag (meaning it doesn’t need a separate closing tag), and its behavior changes completely depending on its type attribute.
html
<input type="text" name="username">Here’s what’s happening in that line:
type="text"tells the browser to show a plain text box.name="username"gives this field a name, so the server knows which piece of data it’s receiving. Without aname, the data from that field won’t be sent at all.
Common type Values
| Type | What It Does |
|---|---|
text | A simple one-line text box |
email | A text box that checks for a valid email format |
password | Hides what you type behind dots |
number | Only accepts numbers |
checkbox | A small box you can tick on or off |
radio | A round button — used when only one option can be picked from a group |
date | Shows a date picker |
submit | A button that sends the form |
file | Lets the user upload a file |
Let’s see a few of these in action:
html
<input type="email" name="user_email" placeholder="Enter your email">
<input type="password" name="user_password" placeholder="Enter your password">
<input type="checkbox" name="subscribe" id="subscribe">
<label for="subscribe">Subscribe to newsletter</label>
Quick note on placeholder: it’s the light grey hint text you see inside an empty input box before you start typing. It disappears once you type something it is not the same as a real value, so don’t rely on it to label your fields.
The <label> Tag
A <label> is the visible text next to an input field, like “Email Address” or “Full Name.” It might seem optional, but it’s actually very important for two reasons:
- It tells the user clearly what each field is for.
- It makes your form accessible, meaning people using screen readers (tools that read out webpages for visually impaired users) can understand what each box is asking for.
html
<label for="fullname">Full Name</label>
<input type="text" id="fullname" name="fullname">
Notice the for="fullname" in the label matches the id="fullname" in the input. This connection means clicking the label text will also focus the input box — try it, it’s a small but satisfying detail.
The <textarea> Tag
When you need more than one line of text like a message box on a contact form you use <textarea> instead of <input>.
html
<label for="message">Your Message</label>
<textarea id="message" name="message" rows="4" cols="30"></textarea>
rows and cols control the visible size of the box (how many lines tall, how many characters wide), but the user can still type as much as they want the box just scrolls.
The <select> Tag (Dropdowns)
When you want the user to pick one option from a list like a country or a subject use <select> along with <option> tags.
html
<label for="country">Choose your country</label>
<select id="country" name="country">
  <option value="india">India</option>
  <option value="usa">USA</option>
  <option value="uk">UK</option>
</select>
Each <option> needs a value that’s what actually gets sent to the server when the user picks it, even though the visible text can be different.
Buttons: submit, reset, and button
Every form needs a way to send the data. That’s usually done with a submit button.
html
<button type="submit">Sign Up</button>There are three common button types:
submit– sends the form datareset– clears all fields back to their starting valuesbutton– does nothing by itself; it’s used when you want to trigger custom behavior with JavaScript
Putting It All Together: A Full Example
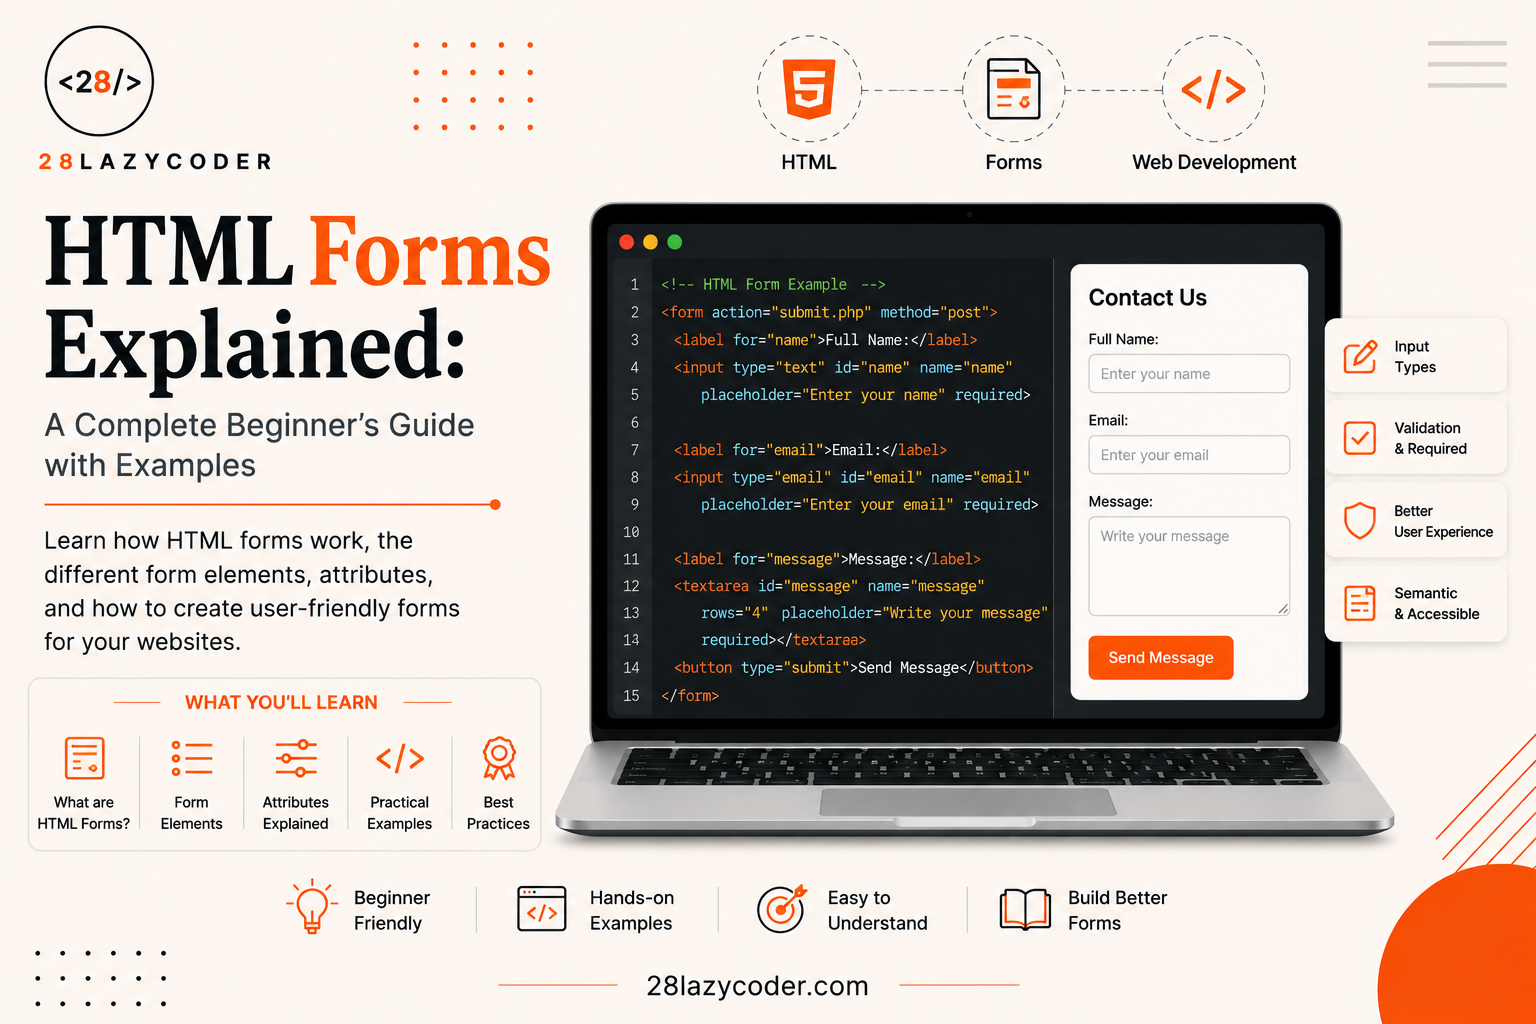
Let’s build a simple contact form using everything we’ve covered so far.
html
<form action="/contact-submit" method="POST">
  <label for="name">Name</label>
  <input type="text" id="name" name="name" placeholder="Your name" required>

  <label for="email">Email</label>
  <input type="email" id="email" name="email" placeholder="you@example.com" required>

  <label for="message">Message</label>
  <textarea id="message" name="message" rows="4"></textarea>

  <button type="submit">Send Message</button>
</form>
Read it top to bottom like a story: the form is set to send data using POST to /contact-submit. It asks for a name, an email, and a message, then gives the user a button to send it all off.
HTML Form Validation (Without Any JavaScript)
Here’s something a lot of beginners don’t realize HTML can check the user’s input before it even reaches the server, without writing a single line of JavaScript. This is called built-in form validation.
required
Forces the user to fill in a field before the form can be submitted.
html
<input type="text" name="username" required>minlength and maxlength
Sets the minimum or maximum number of characters allowed.
html
<input type="password" name="password" minlength="8" required>pattern
Lets you check the input against a specific format using a pattern (a set of rules for what the text should look like).
html
<input type="text" name="pincode" pattern="[0-9]{6}" title="Enter a 6-digit pincode">These attributes are a great starting point, but for anything more advanced, most developers pair HTML validation with JavaScript for extra control. If you want to understand how JavaScript can interact with your form elements reading values, reacting to clicks, and updating the page 28LazyCoder’s guide on JavaScript DOM manipulation is a great next step.
Styling Your Forms
By default, HTML forms look plain and boring small boxes, default fonts, no spacing. That’s completely normal; HTML only handles structure, not appearance. To actually make a form look good, you style it with CSS.
If you’re new to laying out elements neatly on a page (like aligning labels and inputs, or spacing out form fields), it’s worth learning CSS Flexbox, which is one of the easiest ways to arrange items in a row or column. 28LazyCoder has a detailed CSS Flexbox beginner’s guide that pairs really well with form building. There’s also a CSS Grid layout guide if you want more control over multi-column form designs.
Common Mistakes Beginners Make With Forms
- Forgetting the
nameattribute: without it, the input’s data simply won’t be sent, even if the user fills it in. - Using
placeholderinstead oflabel: placeholder text disappears when typing starts, so it should never replace a proper label. - Not matching
idandfor: this breaks the connection between label and input, hurting both usability and accessibility. - Choosing the wrong
method: using GET for passwords, for example, exposes sensitive data in the URL. - Skipping the
typeattribute on buttons: inside a form, a plain<button>defaults totype="submit", which can cause forms to submit unexpectedly.
Conclusion
HTML forms might look like a bunch of boxes and buttons at first glance, but now you know they’re really a structured conversation between the user and the website. The <form> tag sets the rules for where and how data travels, <input> and its many types collect different kinds of information, <label> keeps things clear and accessible, and simple attributes like required and pattern do basic validation without any extra code.
The best way to really understand forms is to build one yourself. Start small try creating a simple sign-up form with a name, email, and password field, add a required attribute to each, and see how the browser reacts when you leave one empty.
FAQs
1. What is the difference between GET and POST in an HTML form? GET sends form data as part of the URL, which makes it visible and better suited for non-sensitive actions like searches. POST sends data separately from the URL, keeping it hidden, which makes it the safer choice for things like login forms.
2. Do I need JavaScript to validate an HTML form? No. HTML provides built-in validation attributes like required, minlength, maxlength, and pattern that work without any JavaScript. JavaScript is only needed for more advanced or custom validation rules.
3. Why isn’t my form data being submitted? The most common reason is a missing name attribute on the input field. Without a name, the browser has no way to label that piece of data when sending it to the server.
4. What’s the difference between <input> and <textarea>? <input> is used for short, single-line entries like a name or email. <textarea> is used when you expect longer, multi-line text, like a message or comment.
5. Can a form have more than one submit button? Yes, but it’s uncommon. If a form has multiple submit buttons, you can give each one a different name and value so the server can tell which button was clicked.
Continue Learning
Want to keep building on what you’ve just learned? Here are a few guides from 28LazyCoder that go well with this one:
- Latest HTML Updates in 2026: What’s New for Modern Web Developers?
- CSS Flexbox: A Complete Beginner’s Guide with Examples
- CSS Grid Layout: A Complete Beginner’s Guide with Examples
- JavaScript DOM Manipulation Explained
- PHP Data Types Explained: A Complete Beginner’s Guide with Examples
You can also browse the full 28LazyCoder blog for more beginner-friendly web development tutorials.
For deeper technical reference on HTML forms, these official sources are worth bookmarking: